Duplicati: Self-hosted CrashPlan Alternative
For the past few years I have been using CrashPlan to do incremental encrypted backups for all of my family's various computers. CrashPlan offered free peer-to-peer backups, which allowed me to just specify one of my ZFS disk boxes as the target, then set it and forget it. This has been working spectacularly well, especially considering the wide variety of operating systems I needed to "support": Linux (Desktop/Server), Windows and Mac.
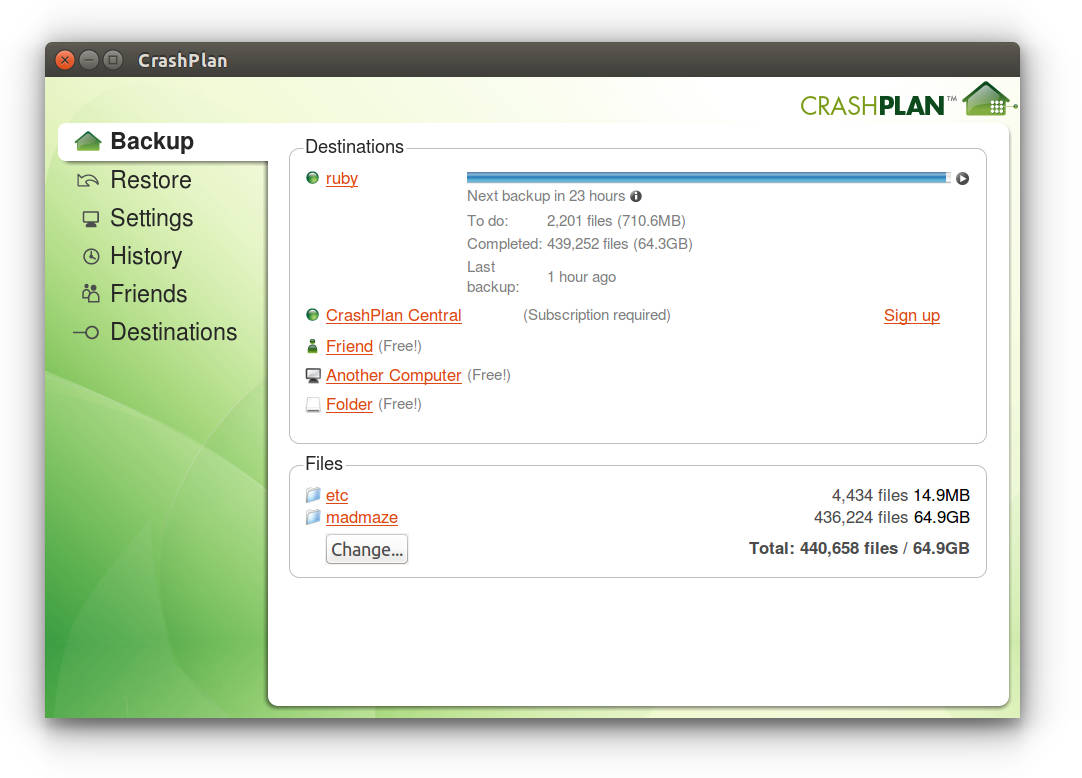
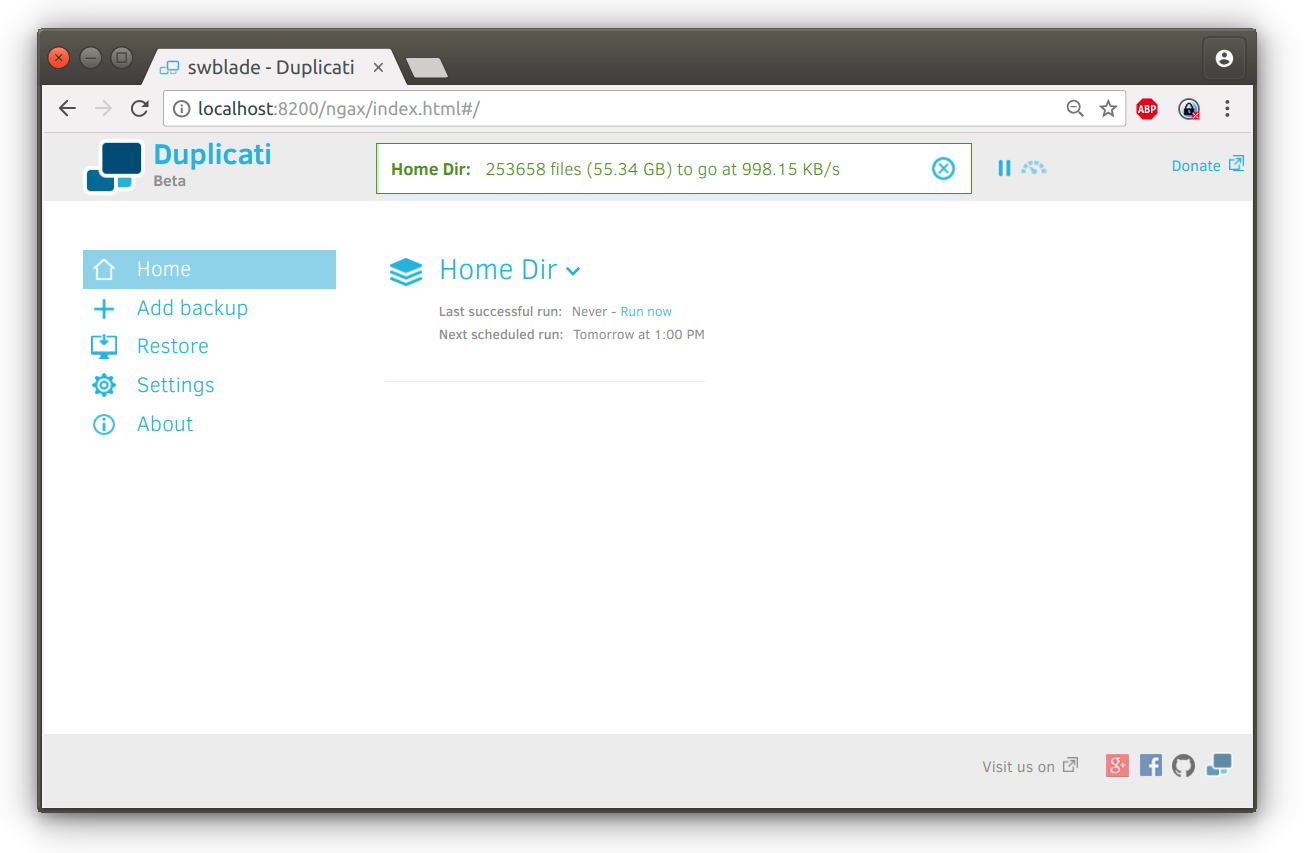
Unfortunately in August 2017, CrashPlan announced they will discontinue their consumer offering in order to refocus on small-businesses, which I'm sure is a much more profitable market. The announcement email has been sitting starred in my inbox since that day and I've been dreading to find the next solutions. I remembered, last time I looked around, CrashPlan was more or less the only self-hosted choice that worked across all OSs and offered incremental encrypted backups. More recently I came across the new Duplicati, which has seen a major revamp since the last time I had looked at it, now supporting all sorts of storage backends, encryption, incremental backups and a variety of retention policies as well as a slick new web-based UI.
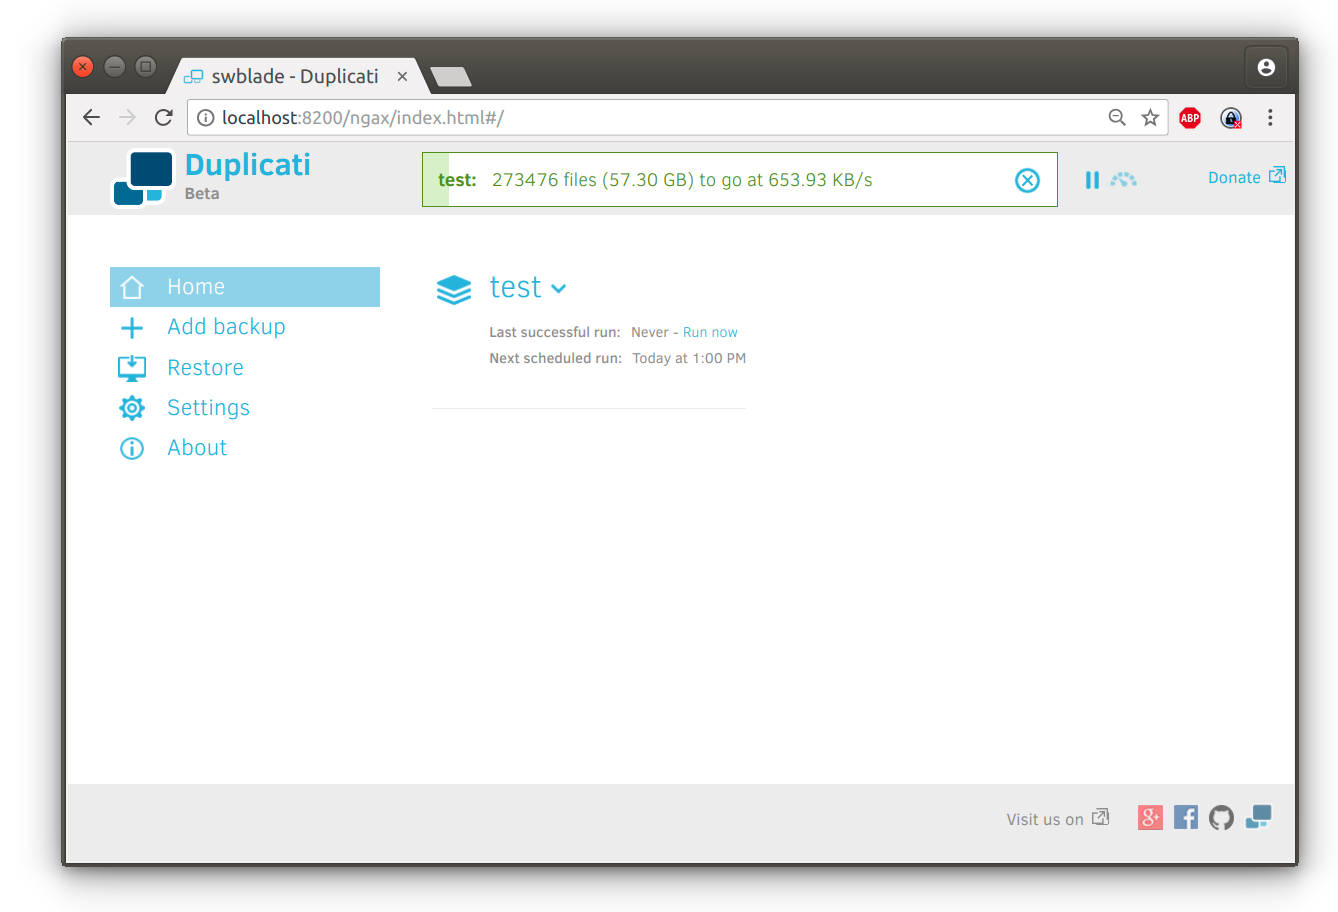
Below I will describe how to setup duplicati to use a central linux server as the backend to store all of your files.
Setup and Install Duplicati
On the client machine, which will be backed up, go to duplicati.com/download and grab the latest installer for your operating system and follow the default installation. Below are the directions I used on my Ubuntu Laptop
user@box:~$ wget https://updates.duplicati.com/beta/duplicati_2.0.3.3-1_all.deb
user@box:~$ sudo dpkg -i duplicati_2.0.3.3-1_all.deb
then start duplicati and continue in the web interface at localhost:8200/ngax/index.html.
Adding a Backup location
I usually like to keep all of my data on my own servers so here we will configure backing up via SSH, making sure to setup ssh-keys and a separate backup user on my disk box.
-
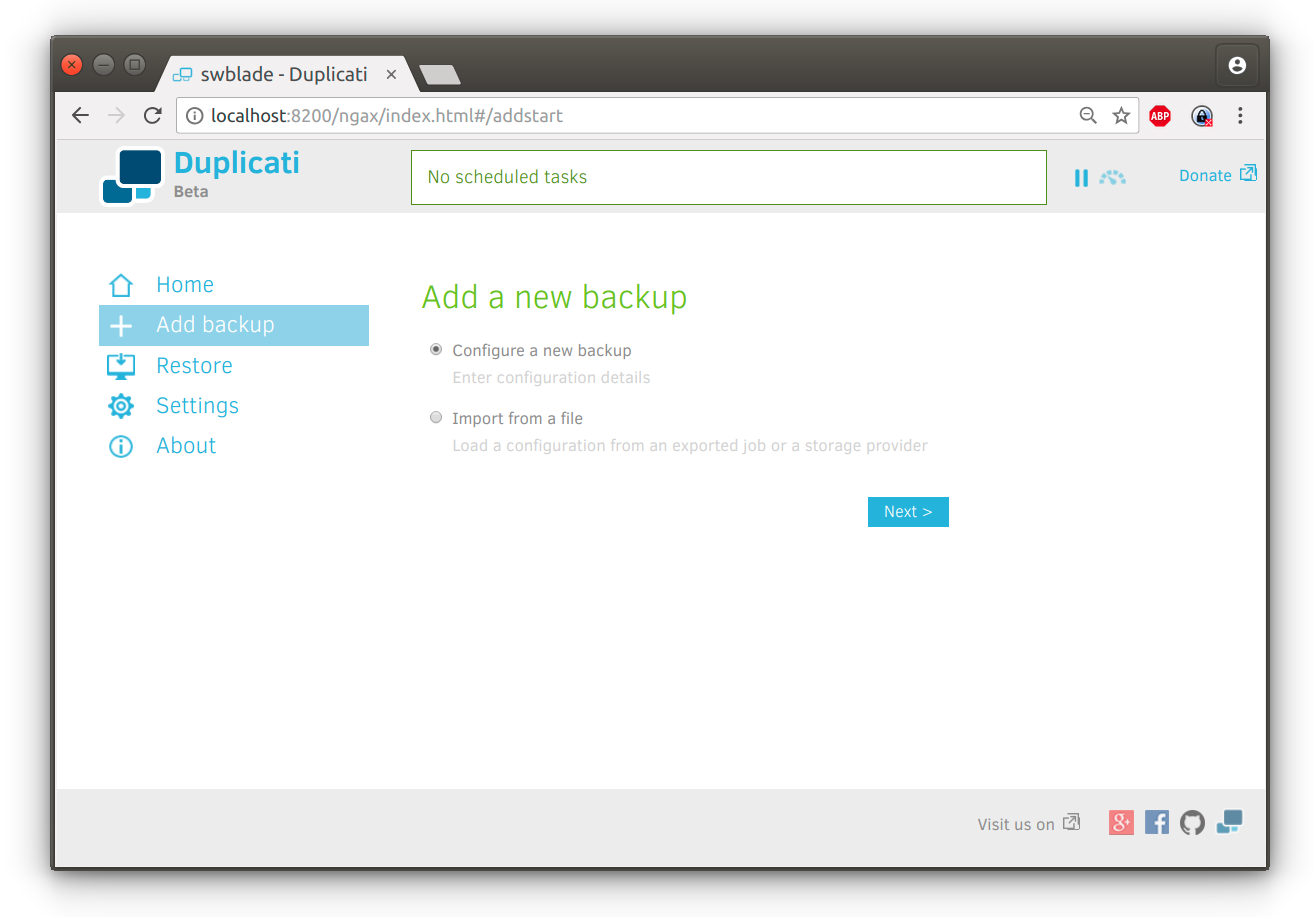
Getting Started Select "+ Add Backup", then "Configure New Backup", then "next"
-
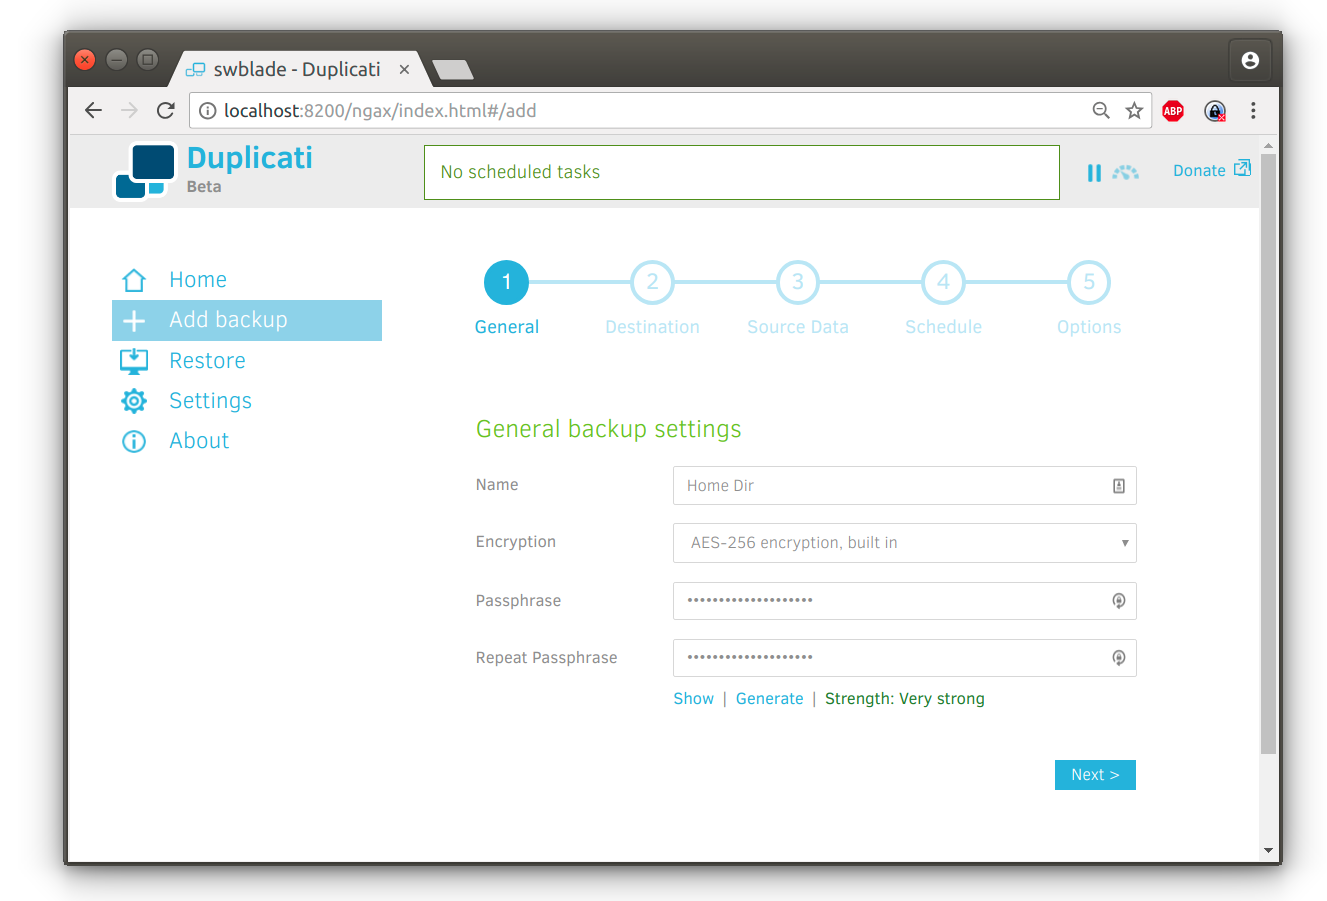
Encryption A great feature of duplicati is the encryption of backups, to make good use of it, generate a password and store it in your password manager, I prefer KeePass and LastPass.
-
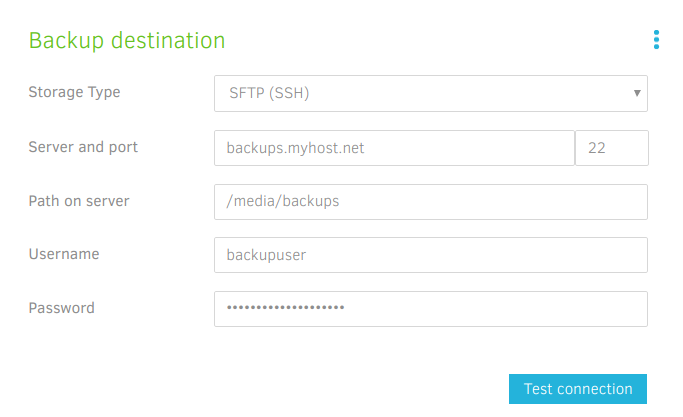
Destination Next we select where the backups will be stored, this could be an external drive attached to your computer or a remote machine via SSH, FTP, WebDav or even S3-like storage. For the purpose of this tutorial we will go with SSH.
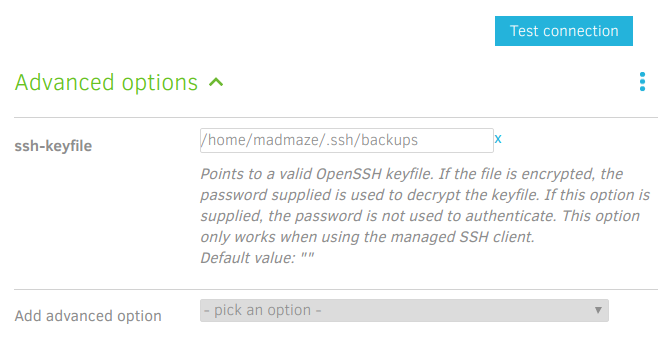
- Add SSH Key When using SSH, I recommend using an SSH key for security, especially if you use the default SSH port. Under Advanced Settings select ssh-keyfile, if your key has a password, enter this into the Password field above.
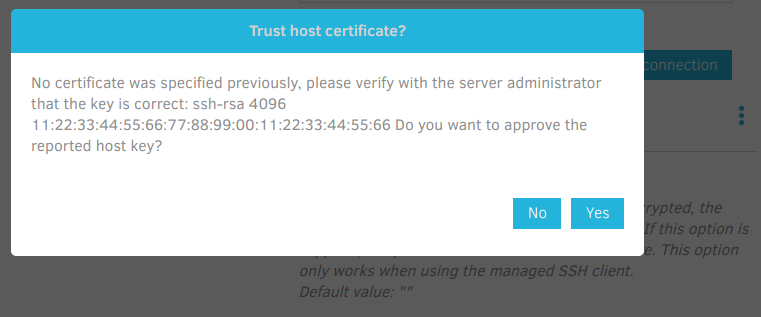
- Test your connection Now hit Test Connection to make sure everything works properly. You'll be asked whether you accept the Host-key, select Yes, then go Next
- Configure Source Here we select the files we wish yo backup. Generally on a linux machine I backup
~/and exclude some of the dot-files.
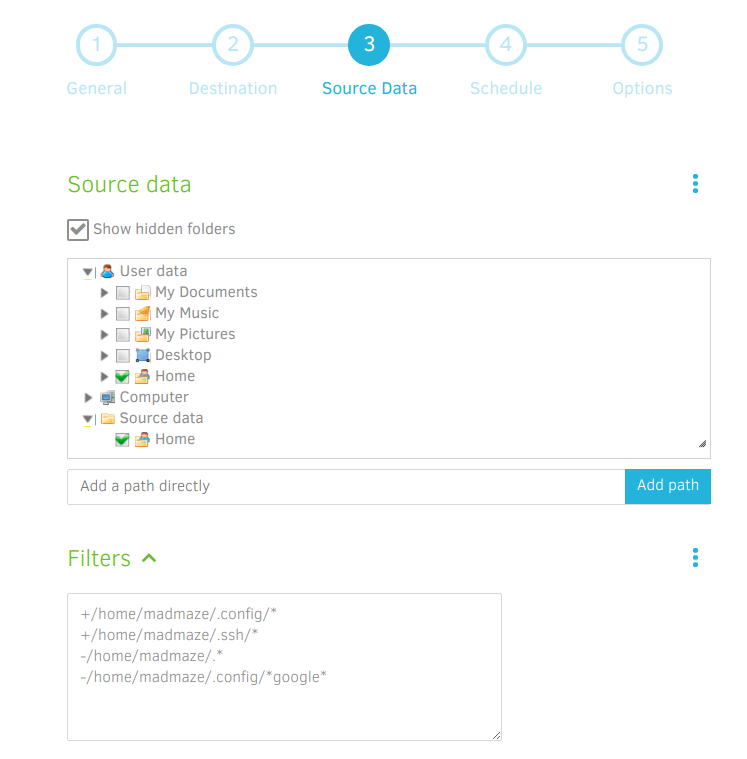
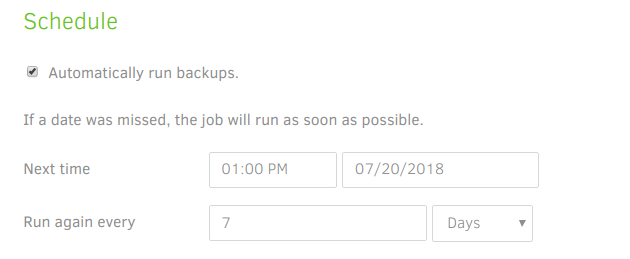
- Backup Schedule Generally I don't need backup every day, so go with Weekly backup.
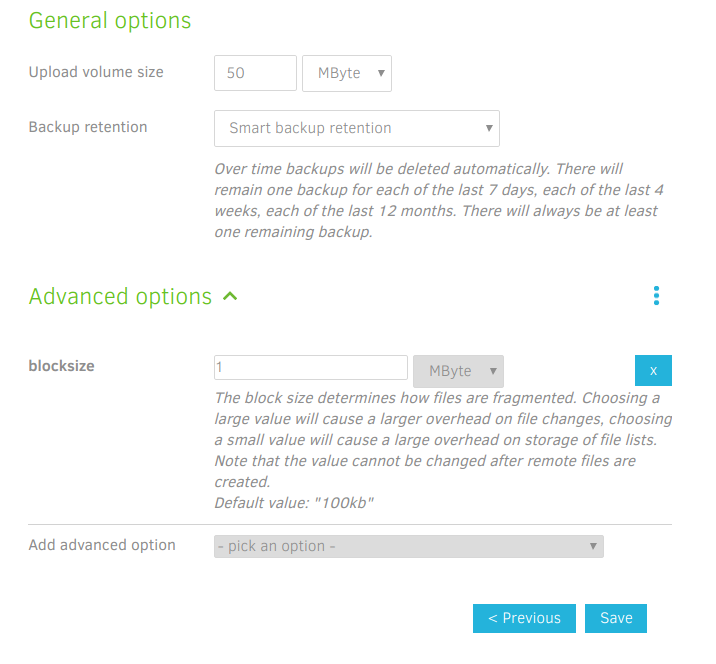
- General Settings These final settings are important.
- Volume Size controls the size of chunks that will be pushed to your backup system and will therefore control how many file will land on your backup server. I've found 50MB to work well for me.
- blocksize controls the size of the blocks which will be hashed, i set this to 1MB, cutting down on the size of the database duplicati has to maintain.
- Backup Retention Generally it is most useful to thin-out older backups in order to save space. I set this to Smart Backup Retention.
Play with these settings to find what is most optimal for your setup, it will depend on your upload speed, the backend server as well as the compute capability of your client device.
All Done!
Now, a word of wisdom, after you get this setup, make sure you can successfully go through a full backup-restore cycle to work any kinks you may encounter.
